Understanding the Importance of Winterizing Your Irrigation System
As the cold months approach, many homeowners prepare their homes for winter, but often overlook one crucial aspect: their irrigation system. Failing to winterize your irrigation system can lead to costly repairs and headaches in the spring. Understanding how to properly winterize your irrigation system ensures that it remains in good condition, saving you time and money in the long run.
What Happens If You Don’t Winterize?
Ignoring the winterization of your irrigation system can result in several problems:
- Frozen Pipes: Water left in the pipes can freeze, causing them to crack or burst.
- Damaged Sprinkler Heads: Ice expansion can damage the sprinkler heads, leading to malfunction.
- Costly Repairs: Fixing a damaged irrigation system can be expensive and time-consuming.
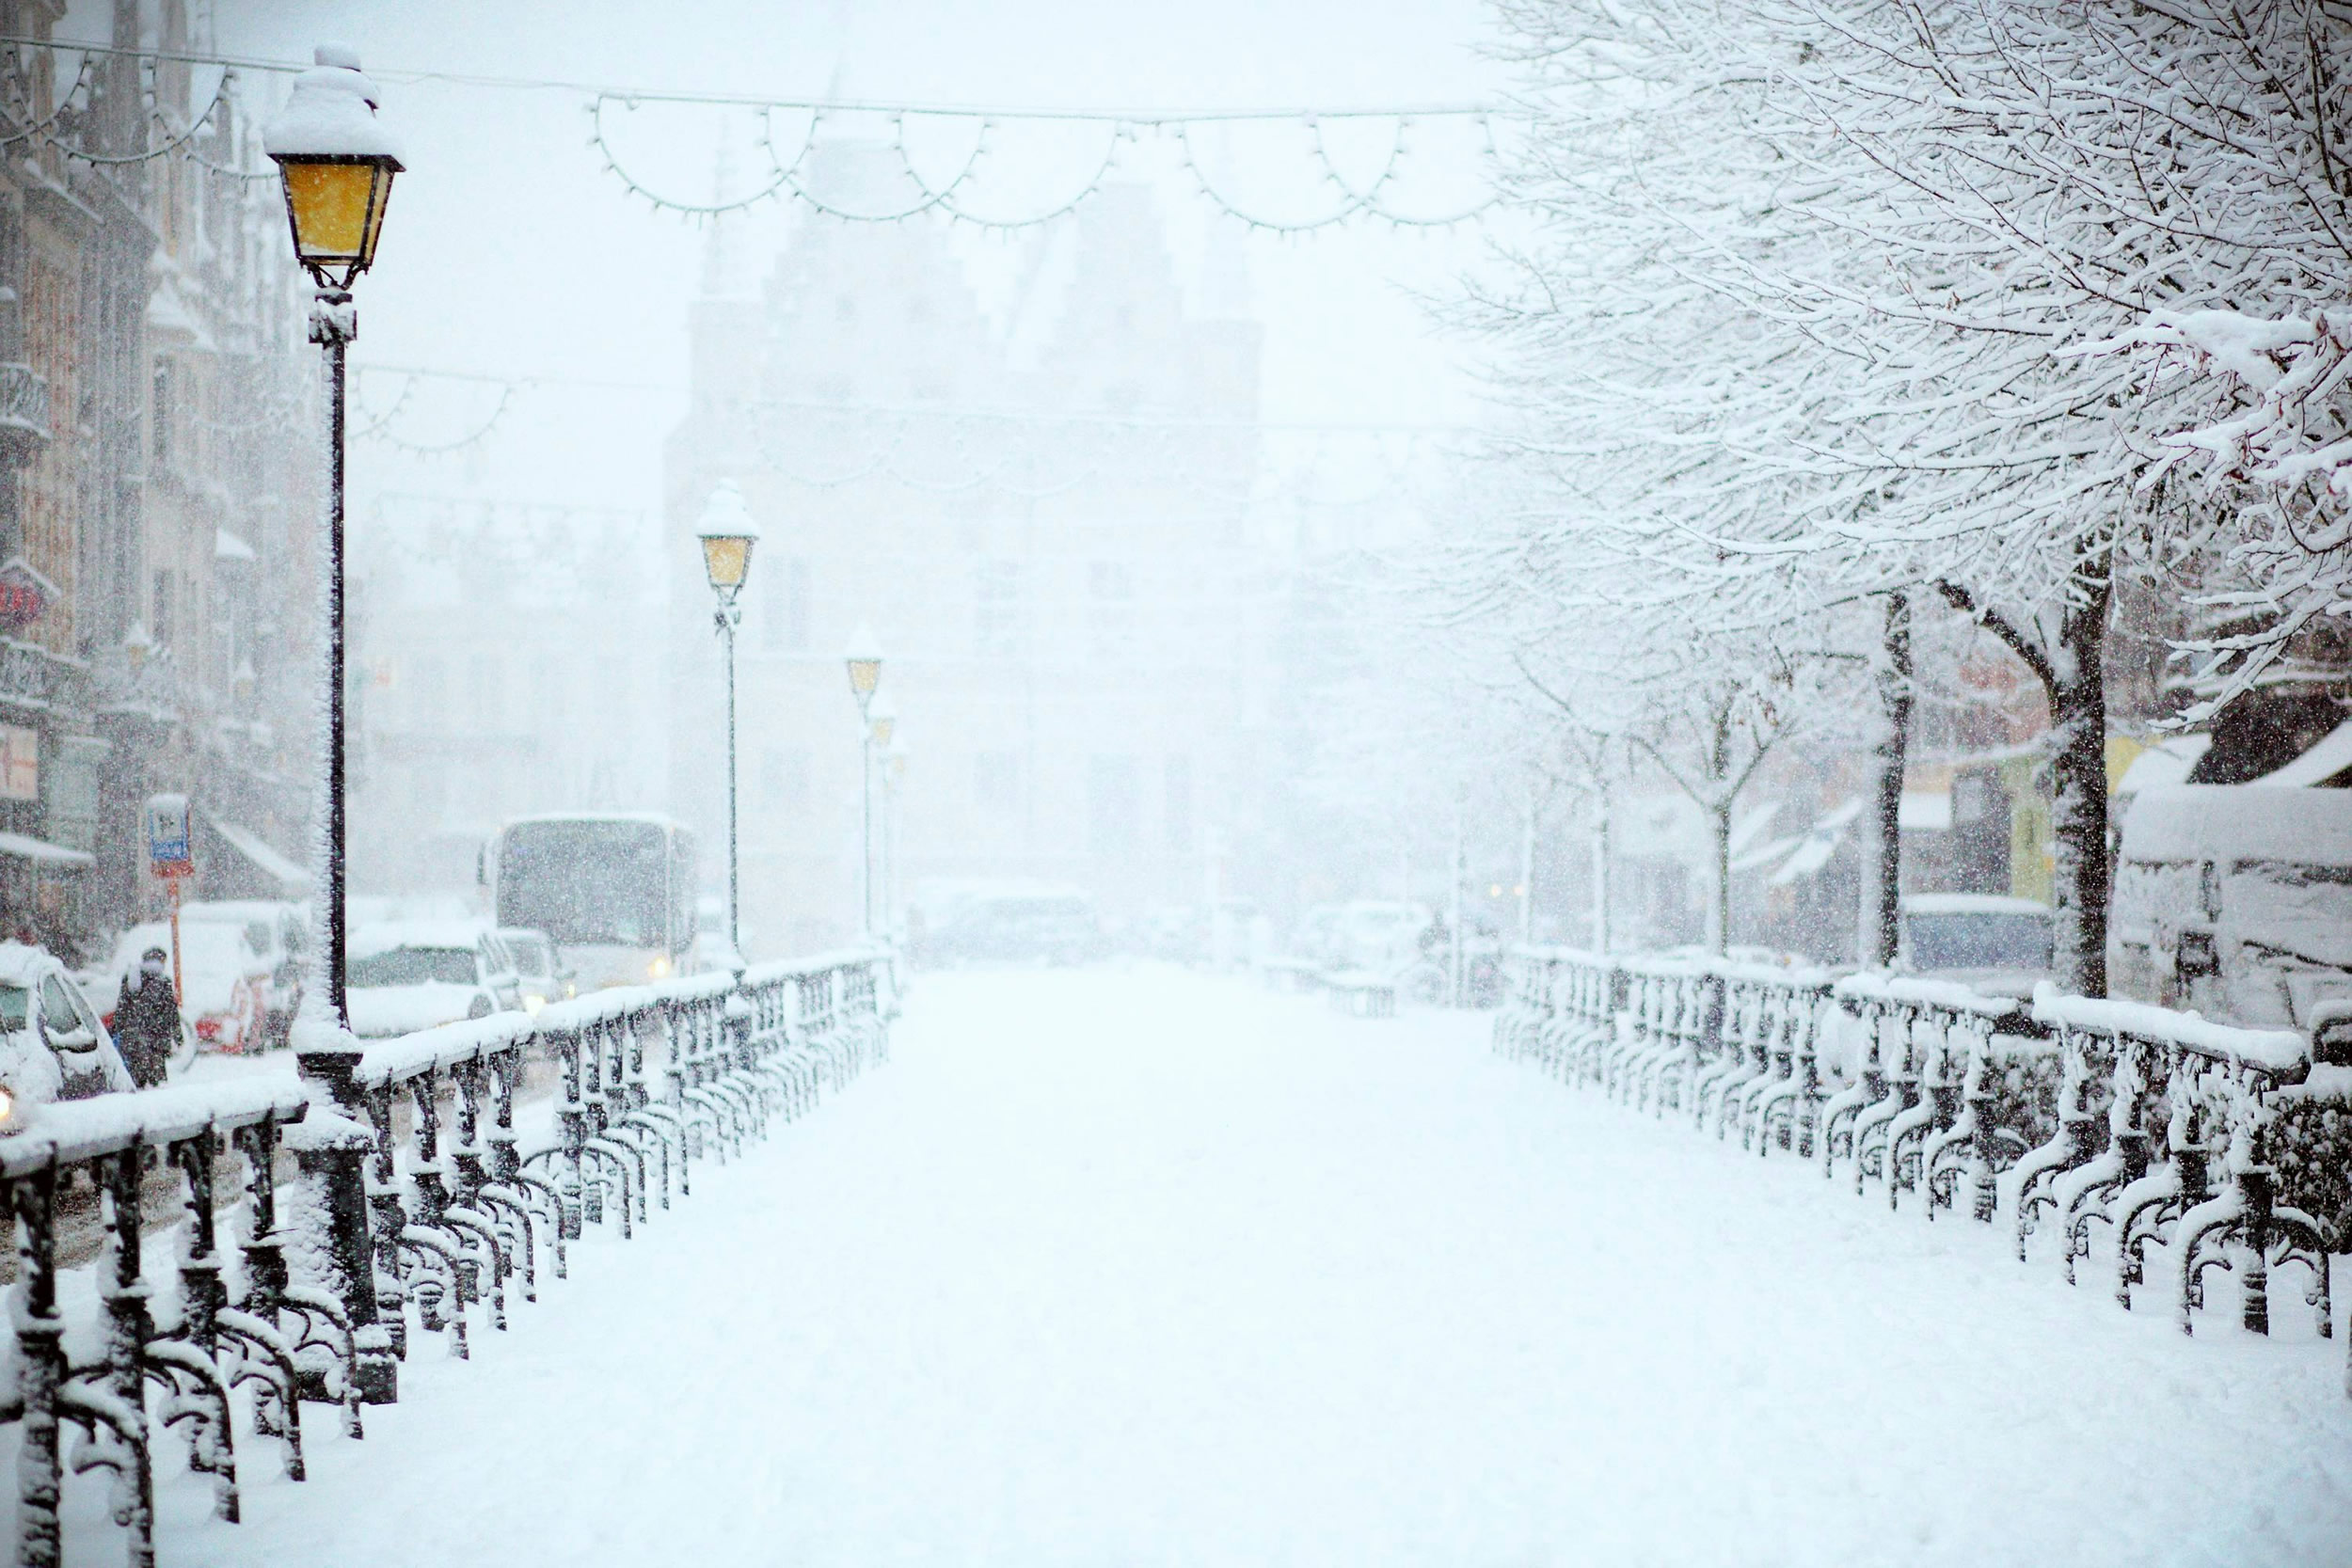
When Should You Winterize Your Irrigation System?
The timing for winterizing your irrigation system is crucial. Ideally, this should be done before the first hard freeze of the season. In many regions, this means preparing your system in late fall. Keep an eye on the weather forecasts and plan accordingly to ensure your system is protected.
Step-by-Step Guide to Winterizing Your Irrigation System
Follow these steps to ensure your irrigation system is ready for winter:
1. Turn Off the Water Supply
Locate the main shut-off valve for your irrigation system and turn it off. This prevents any more water from entering the system.
2. Drain the System
There are three main methods to drain your irrigation system: manual drain, automatic drain, and blow-out method.
- Manual Drain: Open the manual drain valves to allow water to escape.
- Automatic Drain: Systems with automatic drain valves will drain themselves when the pressure drops.
- Blow-Out Method: Use an air compressor to blow out any remaining water. This method is recommended for most systems but requires caution to avoid damage.
3. Insulate Exposed Components
Wrap any exposed pipes, backflow preventers, and valves with insulation tape or foam covers to protect them from freezing temperatures.
4. Check the Controller
Set your irrigation controller to “off” or “rain mode” to prevent it from turning on during the winter months.
5. Inspect and Repair
Take this opportunity to inspect your system for any damage or wear. Repair any issues now to ensure your system is ready for spring. Consider addressing any irrigation problems you may have encountered during the season.
Common Mistakes to Avoid
When winterizing your system, avoid these common mistakes:
- Not Draining Completely: Ensure all water is removed to prevent freezing.
- Skipping Insulation: Exposed parts need protection from the cold.
- Forgetting the Controller: Ensure your system is turned off to avoid accidental activation.
DIY vs. Professional Winterization
While many homeowners can winterize their systems themselves, hiring a professional can provide peace of mind. Professionals have the expertise and tools to ensure the job is done correctly, potentially saving you from costly mistakes. Learn more about the advantages of hiring professional services for your landscaping needs.
Final Thoughts on Winterizing Your Irrigation System
Winterizing your irrigation system is an essential task that should not be overlooked. By following the steps outlined above, you can protect your system from the harsh winter weather and ensure it is ready to go when spring arrives. Whether you choose to do it yourself or hire a professional, taking action now will save you time, money, and stress in the future.
If you found this guide helpful, consider sharing it with friends or family who may also benefit. For more home maintenance tips and guides, subscribe to our newsletter and stay informed all year round!